
Sunday, December 18, 2011
Mr. Snowman and Mr. Claus
Reindeer Noses

Instead of Reindeer Poop, how about some Reindeer Noses!! This is a cute idea I cased off of the Stampin' Up site. I just used Whoppers and one big red gumball. The reindeer head is the owl punch with antlers made from the snowflake punch. Of course, the bag topper is the infamous "Top Note".

Stampin' Stampede Christmas Party!
Here's a sneak peek at what our Christmas Party may have in store for Monday night!


The table is set and ready. Anyone notice the wall in the background?! : )

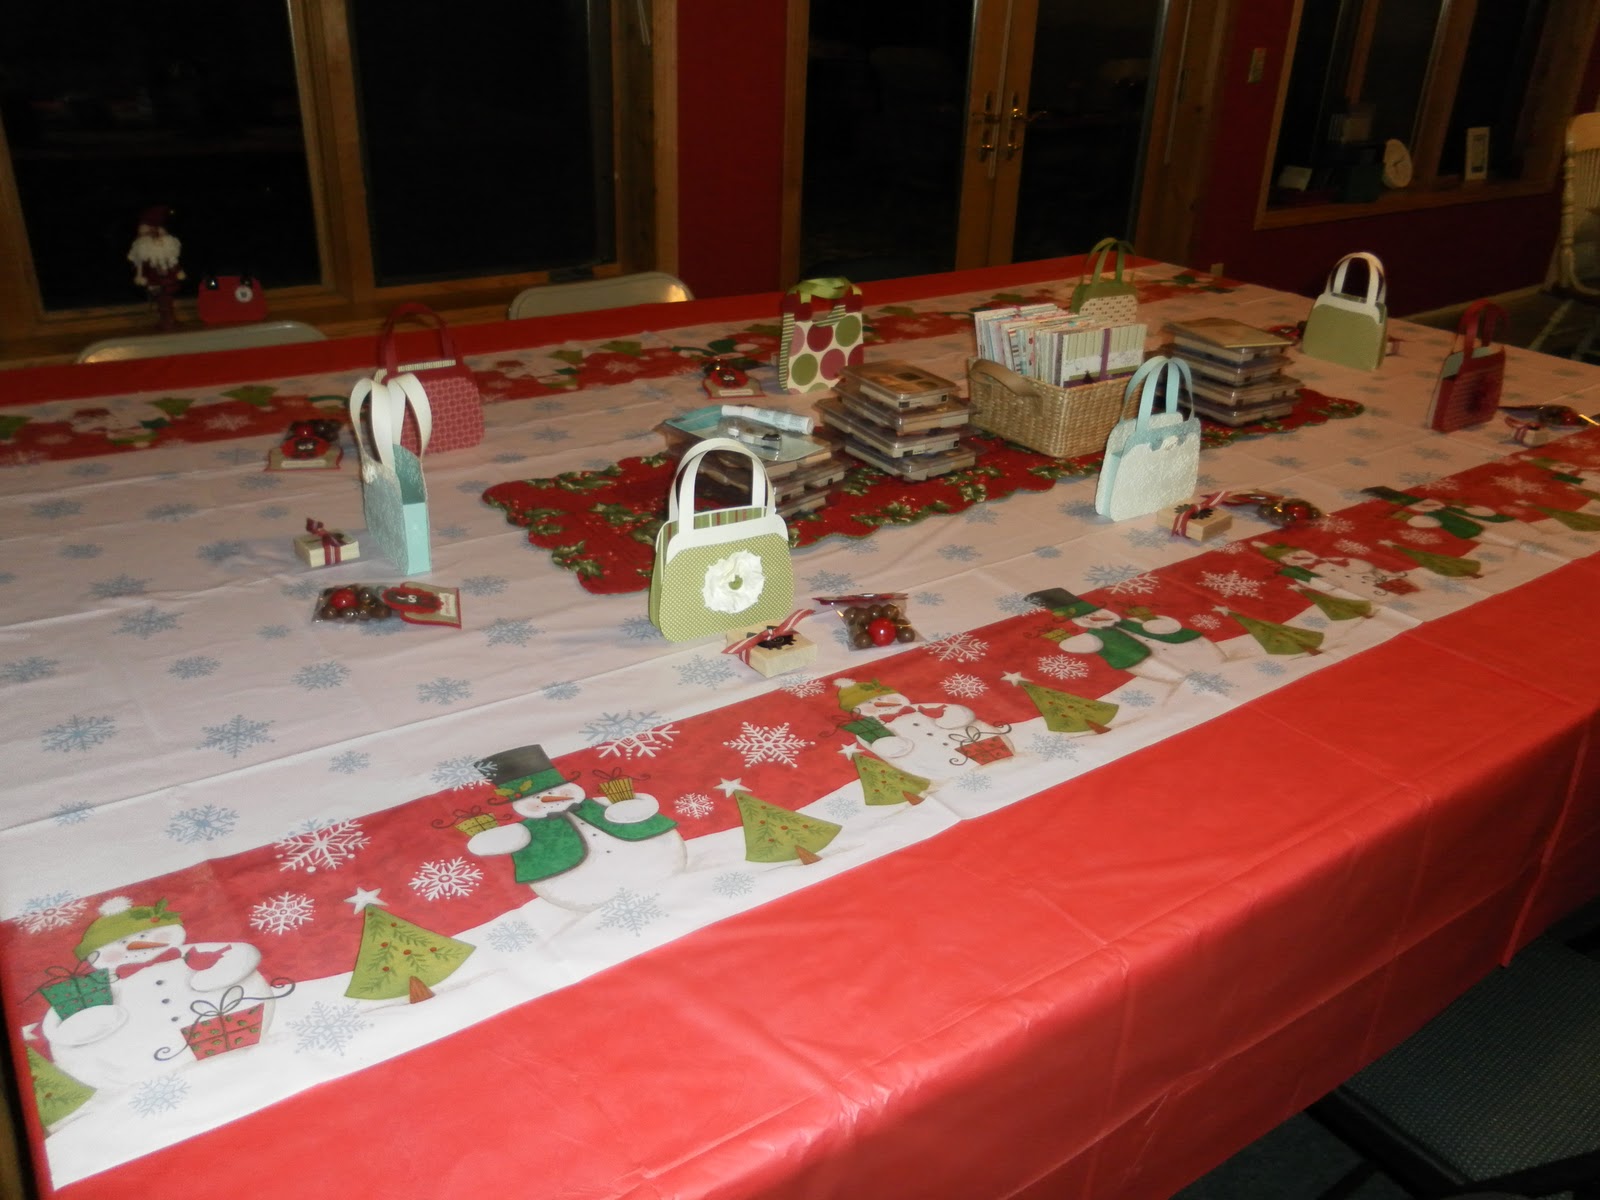

The table is set and ready. Anyone notice the wall in the background?! : )
Saturday, November 19, 2011
More Christmas Projects!

Here are the rest of the projects for our November Club!
Above are the 2 Christmas cards, bows, and the Santa Stick.

Here is a purse I copied from Inking Idaho's site.
It's made from the Top Note (Love that die!).
We will be making this too.
We will be making this too.


I love Marina Mist with this DSP - "Letters to Santa".
This card also uses the new Peek-a-boo Frames die cut for the Big Shot.
It has 5 different frames that are cut and scored, ready for all kinds of projects!

A view with the frame open.

Both the Crumb Cake and Marina Mist card use the same DSP "Letters to Santa" and the
ornament punch with the linen thread and the new mini jingle bells. Fun!

Santa Stick
Here is one of the projects we are making on Monday for Stamp Club.
These santas are popping up all over on Stampin' Connection and on Splitcoast
so I don't know who the original artist is but these are really cute!

I put Santa on top of a 1x8 cello bag filled with 2 licorice.

A closer look at his face. I used the large oval and the extra large oval for face and hat and the ornament punch for his beard. I also ran his beard through with a texture plate to get the 'swirls'. The hat is punched from red glitter paper. For his pom pom I spread a thin layer of Dazzling Details to give it some sparkle. Can't forget his mustache - it's the bird punch!!
Later today or tomorrow I will be posting our other projects for Monday so stay tuned!
Monday, November 14, 2011
Wrapping Paper

Have you ever needed wrapping paper for a hard-to-wrap item? Well, it was Grandma's bday and we needed to wrap a wooded snowman and sled. I decided to try stamping on freezer paper.
I have to say it worked pretty slick! That kind of paper is pretty strong so it doesn't rip easily- very important when you have 2 active boys!

I used the stamp set "Creative Elements" and stamped repetitively in a triangular pattern on the paper.

All wrapped up with a bow and card.

Happy Birthday, Grandma Kae!!
It's Snoopy!
Who doesn't love Snoopy?!
 I combined a few ideas for Snoopy that I saw on SU's Stampin' Connection and came up with this little rendition. My SIL loves Snoopy so I gave her this card. She had been in the hospital for an entire month!!! Her story is quite unique. She had an asthma/allergy attack and lost consciousness before my brother got her to the hospital in Bemidji. She was airlifted to Fargo and sedated (as in unconscious) for 2 whole weeks before she could breathe on her own. Very scary for the whole family, but she is fine now, at home and recovering with a new set of prescriptions.

The texture on his roof and on the envelope flap was made with the new and exciting Herringbone embossing folder.


I needed a special baby boy card for a friend of mine. I really liked the idea of a sailboat but something was missing. Then I put a button on it and that was exactly what it needed!

The polka dot embossing folder adds a little texture to the sails and to the envelope flap too!


The texture on his roof and on the envelope flap was made with the new and exciting Herringbone embossing folder.

A close up of Snoopy snoozin'.
Can you guess what punch I used for the legs? The 3 heart punch!
I also sponged the edges with 'Going Gray' for a little dimension.

I needed a special baby boy card for a friend of mine. I really liked the idea of a sailboat but something was missing. Then I put a button on it and that was exactly what it needed!

The polka dot embossing folder adds a little texture to the sails and to the envelope flap too!
November Stamp Club

The top photo is a covered lunch bag.
I used the DSP -Spice Cake. It's yummy like the real cake!

The second photo is the collection of 100 cards that we made for "Operation Write Home" for soldiers to send back to their families. These went together pretty fast with all of us - I think less than 2 hours.

Sunday, October 2, 2011
Operation Write Home
In October, our Stamp Club "The Stamping Stampede", will be making a large quantity of greeting cards to send to soldiers. There is an organization called 'Operation Write Home' that collects cards created by others and sorts and bundles them up to send overseas. One of our club members suggested that this should be our theme this month. Soldiers don't always have cards or even writing paper to send letters to loved ones so that's where this group steps in and helps. What a great idea!


Here are a few cards that our group may be making. I've got a couple more to design but these are a start. Ideally, I would like a total of 5 simple designs and we can make 10 or 20 of each design for a total of 50 or 100 depending on how ambitious we are!! These a mostly one layer cards (with a few exceptions) so they come together very quickly. With a group of 10-12 people, we can make a nice stack to donate!
The top card is made by inking up a clear block for the background and then stamping the birdcage from the "Nature Walk" set. The second card uses the butterfly from Creative Elements and stamping a second time after inking for the lighter image.

The above card is also made with the Creative Elements stamp set. Elegant, but very easy!
The card below just uses the 'thinking of you' sentiment with some punched out flowers using the Boho flower punch and the Itty Bitty Shapes Punch Pack. Super simple!

The types of cards most needed by our servicemen and woman are birthday, thinking of you, and thank you. I'd also like to make a fun card for a child - lots of parents are servicing our country too so their children would love to receive something in the mail from them!
Little Bo Peep!
10 tiny fingers and 10 tiny toes

My nephew and his wife recently had a baby girl and I wanted to make a special card for them. When I saw a card similar to this in the catalog I knew I wanted to add ruffles!! So I used the Nursery Times stamp set from Stampin' Up! and the perfect polka dot embossing folder. I colored it in with my new crayons from the catalog and blended the colors with a blender pen. The crayons are very smooooth to work with. I'm going to have to do more projects with them!

This picture looks 'peach' but the color is really 'Pretty in Pink' like the top picture. The sentiment used (10 fingers and 10 toes) is from the Sweetly Said stamp set. Notice the embossing folder was used on the envelope as well as another ruffle. It's totally girly girly!
Sunday, August 14, 2011
August Club Projects
 This month all our Club projects feature in-colors. We are making "Thinking of You" cards/items. This scalloped envelope is in Poppy Parade CS and the flower is from the Creative Elements stamp set. Notice the tiny clothes pin? They are in the new catalog!
Inside the envelope is a matching card. (sorry I don't have a picture of it)
 This card is a new size for our group. It's a 3x6 card stamped in Calypso Coral with the matching ruffled ribbon. I used the stamp set 'Faith and Hope' which is retiring at the end of this month. For every Faith and Hope stamp set sold SU will donate $2 to the American Cancer Society.
 A close up so you can see the frame that's made with the Big Shot and the mini frames embossing folder. I stamped and layered a large oval punched out piece of cardstock and placed it in the center of the frame.
 The 3x6 card and matching envelope. The butterfly is cut out and mounted with a dimensional. I put a couple of rhinestones on it for bling too!
More Block Stamping!
 These cards are super simple to make - so I made a set of them for my MIL who just had surgery. I used the Faith in Nature hostess set from Stampin' Up! This one is in Pretty in Pink ink.
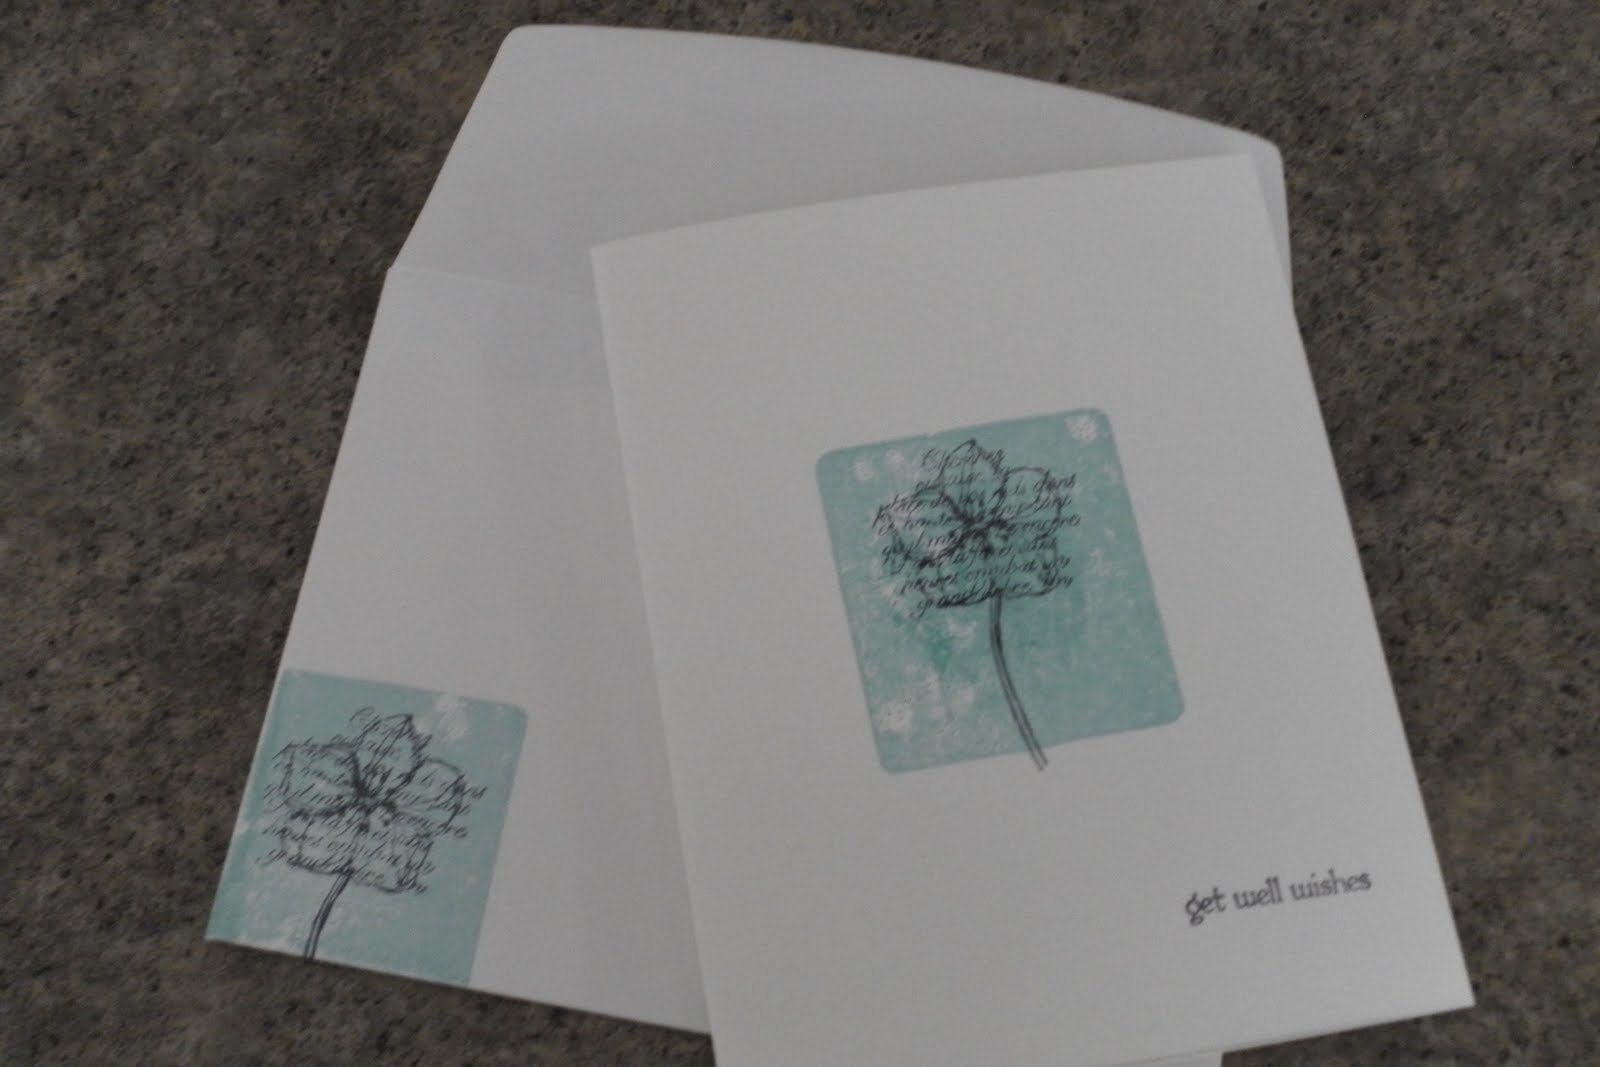 Here's the new in-color Pool Party. I'm loving this color!
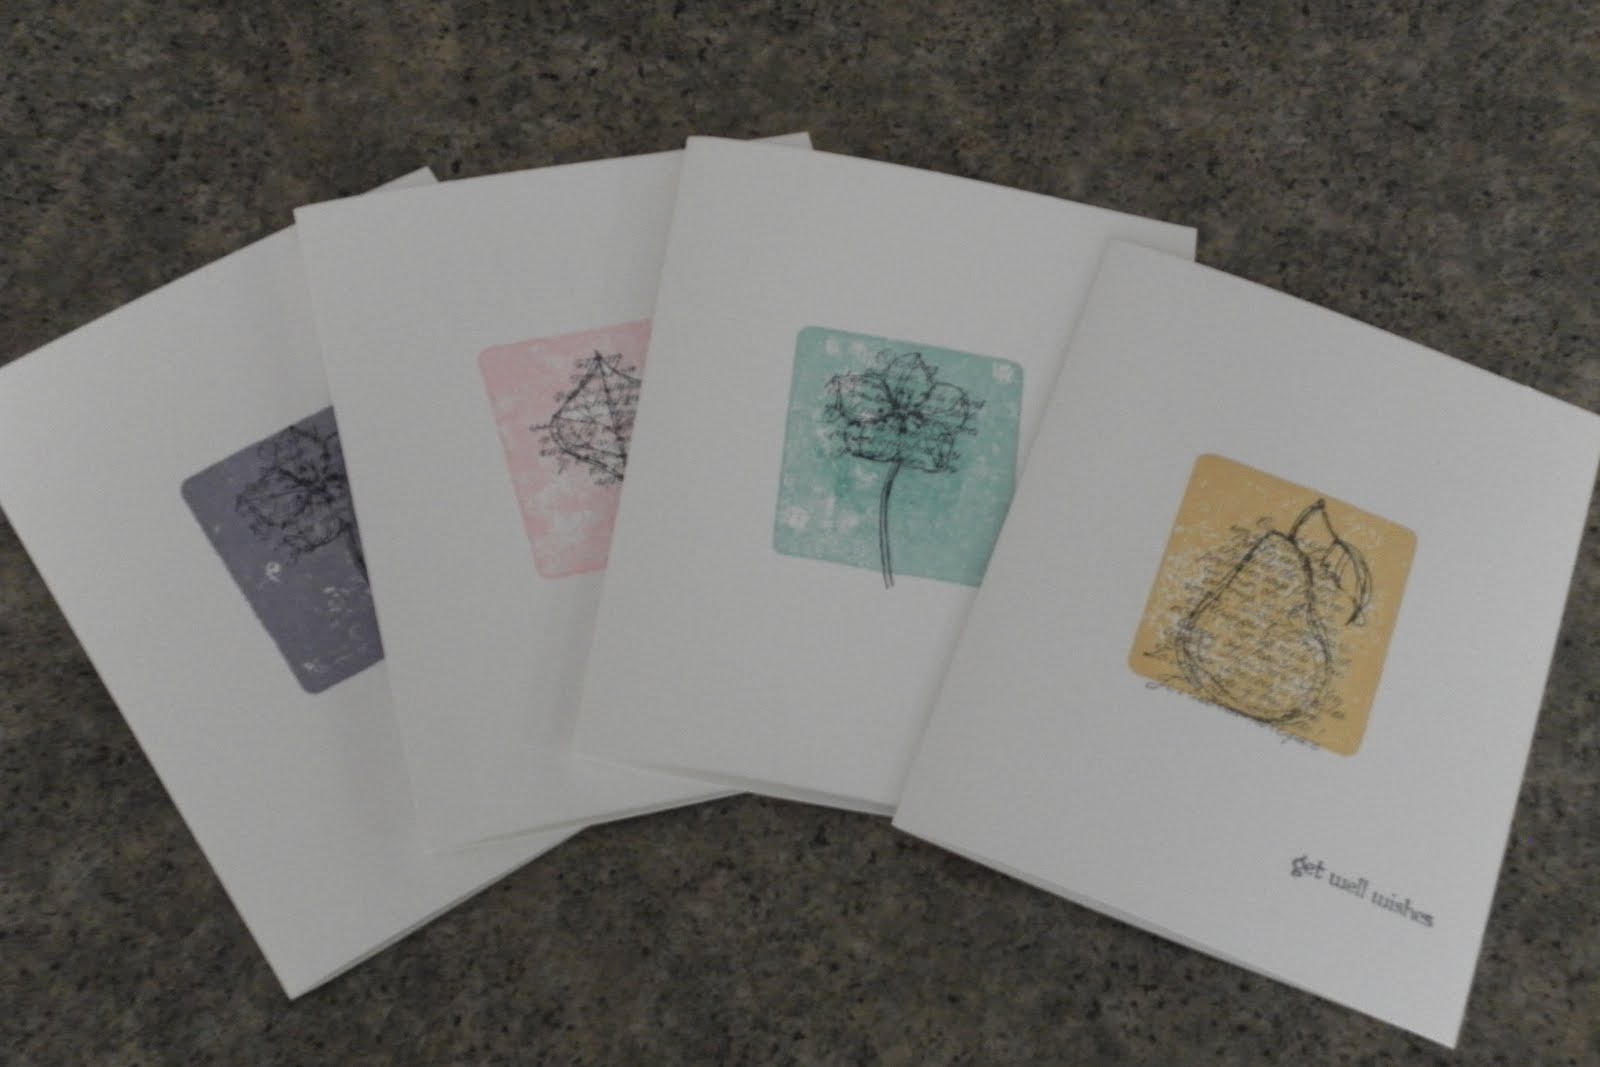 All 4, the other two are So Saffron and another new in-color Wisteria Wonder.
 All with matching envelopes.
 Put a bow around them and you have a nice little gift to give!
Thursday, August 11, 2011
Simple One Layer Cards
I tried something new this time - took pictures with my phone to see if they were better quality and ....... they're not. But you can still get a good idea of what these cards look like.
 The unique thing about these is that the background color is made by inking up a clear block and stamping that. I know - sounds strange - but it works really well! I got the idea from Chick'n'Scratch so the credit goes to her. This one is done in the new in-color Pool Party and Indigo Island. Really like these two colors together!
 This card is made the same way but I 'stepped it up' a little. The Wisteria Wonder (new in-color too!) background is made with the clear block and then I used Concord Crush for the 'swirly' image from the new set "Creative Elements". For the finishing touch, I cut out and mounted the butterfly from this set to add some dimension. Plus a pearl, of course.
 Here's the two cards together so show the difference between a super-simple fast one-layer card and a card with just one more step to dress it up a bit. Sorry about the landscape layout.
The Stamping Stampede will be making one or both of these cards at Club on Monday.
 The unique thing about these is that the background color is made by inking up a clear block and stamping that. I know - sounds strange - but it works really well! I got the idea from Chick'n'Scratch so the credit goes to her. This one is done in the new in-color Pool Party and Indigo Island. Really like these two colors together!
 This card is made the same way but I 'stepped it up' a little. The Wisteria Wonder (new in-color too!) background is made with the clear block and then I used Concord Crush for the 'swirly' image from the new set "Creative Elements". For the finishing touch, I cut out and mounted the butterfly from this set to add some dimension. Plus a pearl, of course.
 Here's the two cards together so show the difference between a super-simple fast one-layer card and a card with just one more step to dress it up a bit. Sorry about the landscape layout.
 The Stamping Stampede will be making one or both of these cards at Club on Monday.
Sunday, August 7, 2011
Angry Birds!
 What kind of a card do you make for a teenage boy turning 18? Angry Birds, of course. I cased and combined ideas for this card from a few different people who posted on SCS and Stampin' Connection. The bird and sling shot is made from punches. The sky is Marina Mist ink sponged around a scallop circle to make clouds.
 Baker's Twine is used on the card and also to accent the envelope. If you look very closely, you can see that I drew in lines on the post to give it a wood grain look, complete with a few knots. If I had the woodgrain stamp I would have used that. (it's on my wish list!)
I'm really liking this card, I think I may have to make a few more of these!
The Stamping Stampede's Card Exchanges!
Here are the cards that members of the Stamping Stampede made to exchange last month. The theme was "A Birthday Card".
I have to apologize for the blurry, poor photos again - it's me or the camera!

 This FAB card was made by Rhea. She used the new Flower Garden embossing folder and then selectively sponged the outline to give it color. The butterflies are a great touch too! I haven't seen this embossing folder used with the butterflies so I think this is an original!
 Stephanie made this COOL distressed flower card. Lots of details on this one! She splattered ink on the base, sponged the top layer, and then flower itself. Great color combo too.
 Sharon was the creator of this super CUTE frog! It even has warts! Punches make anything possible - gotta love 'em!
 Our newest member, Crissy, made the flower and stripe card. She even made a matching envelope. What a GREAT card, I think she's a pro already!
LaReatha made the butterfly button card. Look closely, she has a lot of buttons on this one that makes it so EYE CATCHING! Plus the rounded corners and the embossing folder textured edge really dress it up.
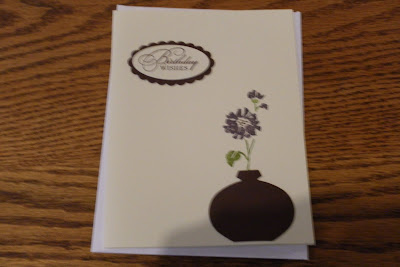 This card was made by Jess. The ornament punch is used for the flower vase - a simple and very ELEGANT card! I can see a set of these with different greetings put together for a nice gift.
Subscribe to:
Posts (Atom)